


The 3D printing community keeps coming up with new tools that redefine what 3D printers can do from time to time. Whether it's creating models using AI tools, converting images to 3D models, or letting your 3D printer turn a regular photo into a full-color, almost photographic piece of wall art, it's all there.
If you're working with photos and want wall art, HueForge is likely your best shot. Feed it any regular photo, and you'll get a finished product that any 3D printer can make, no multi-material unit or fancy AMS setup required.
Your PLA has been faking solid this whole time
Watercolor, but make it plastic


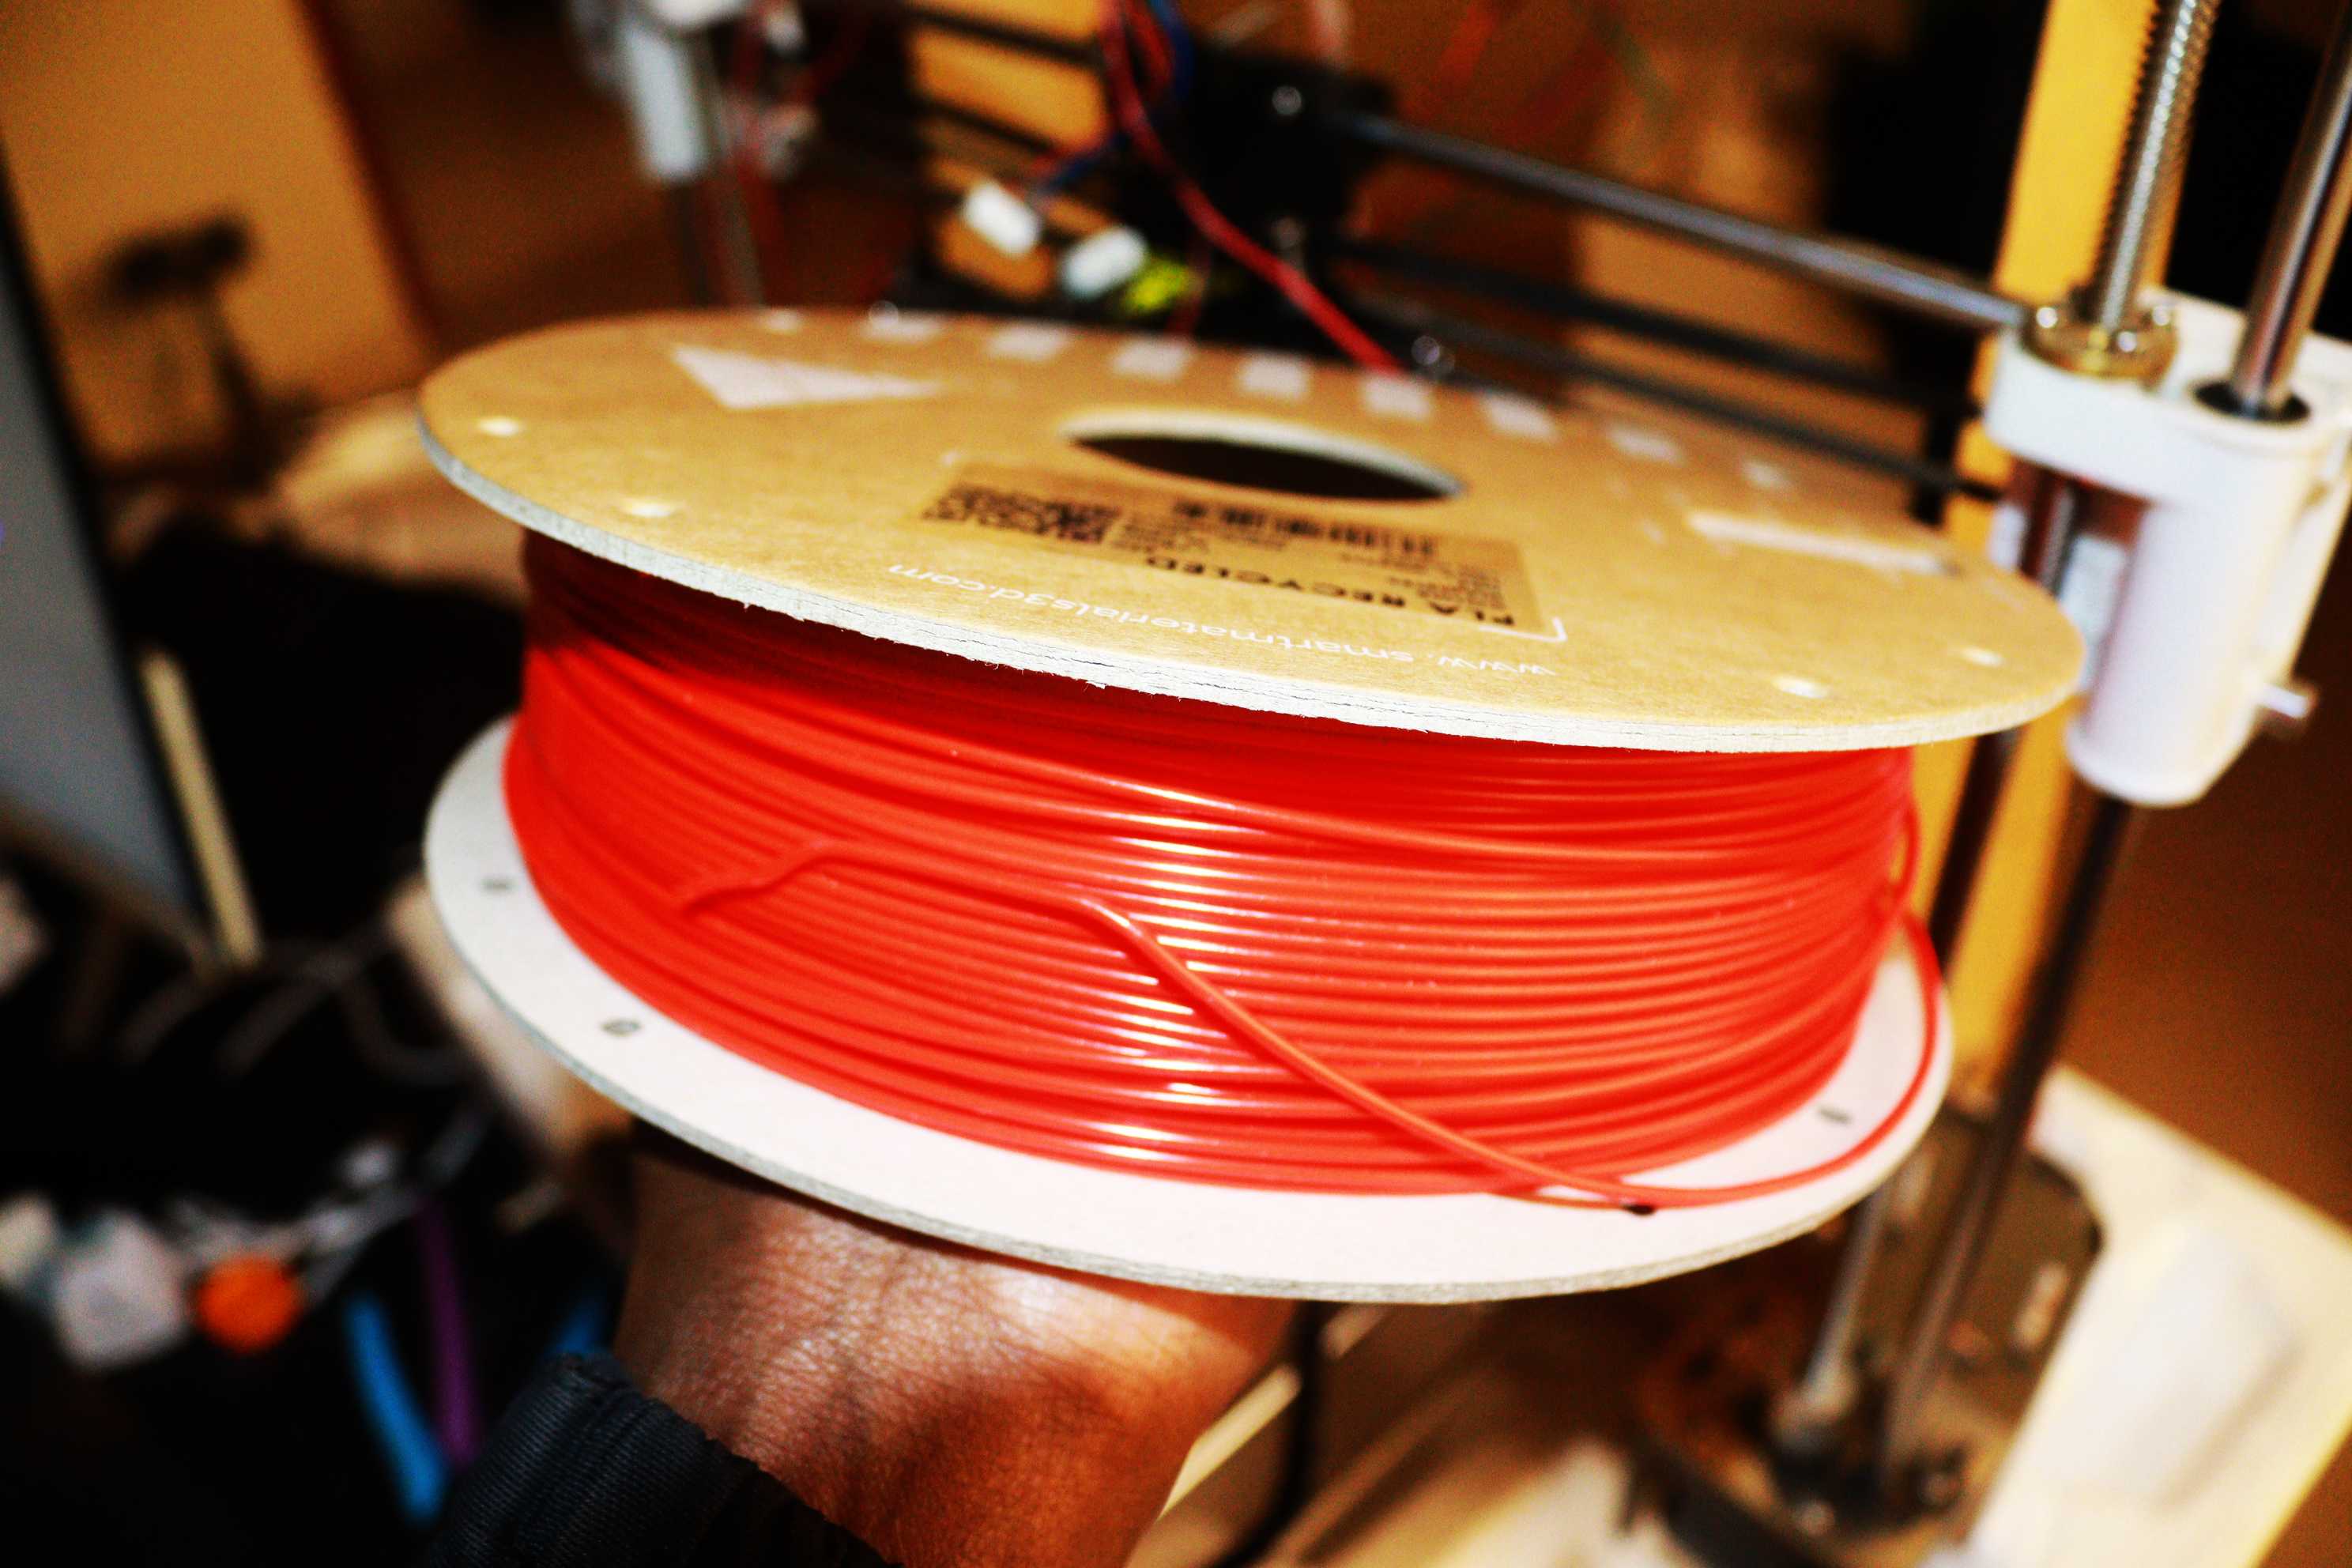
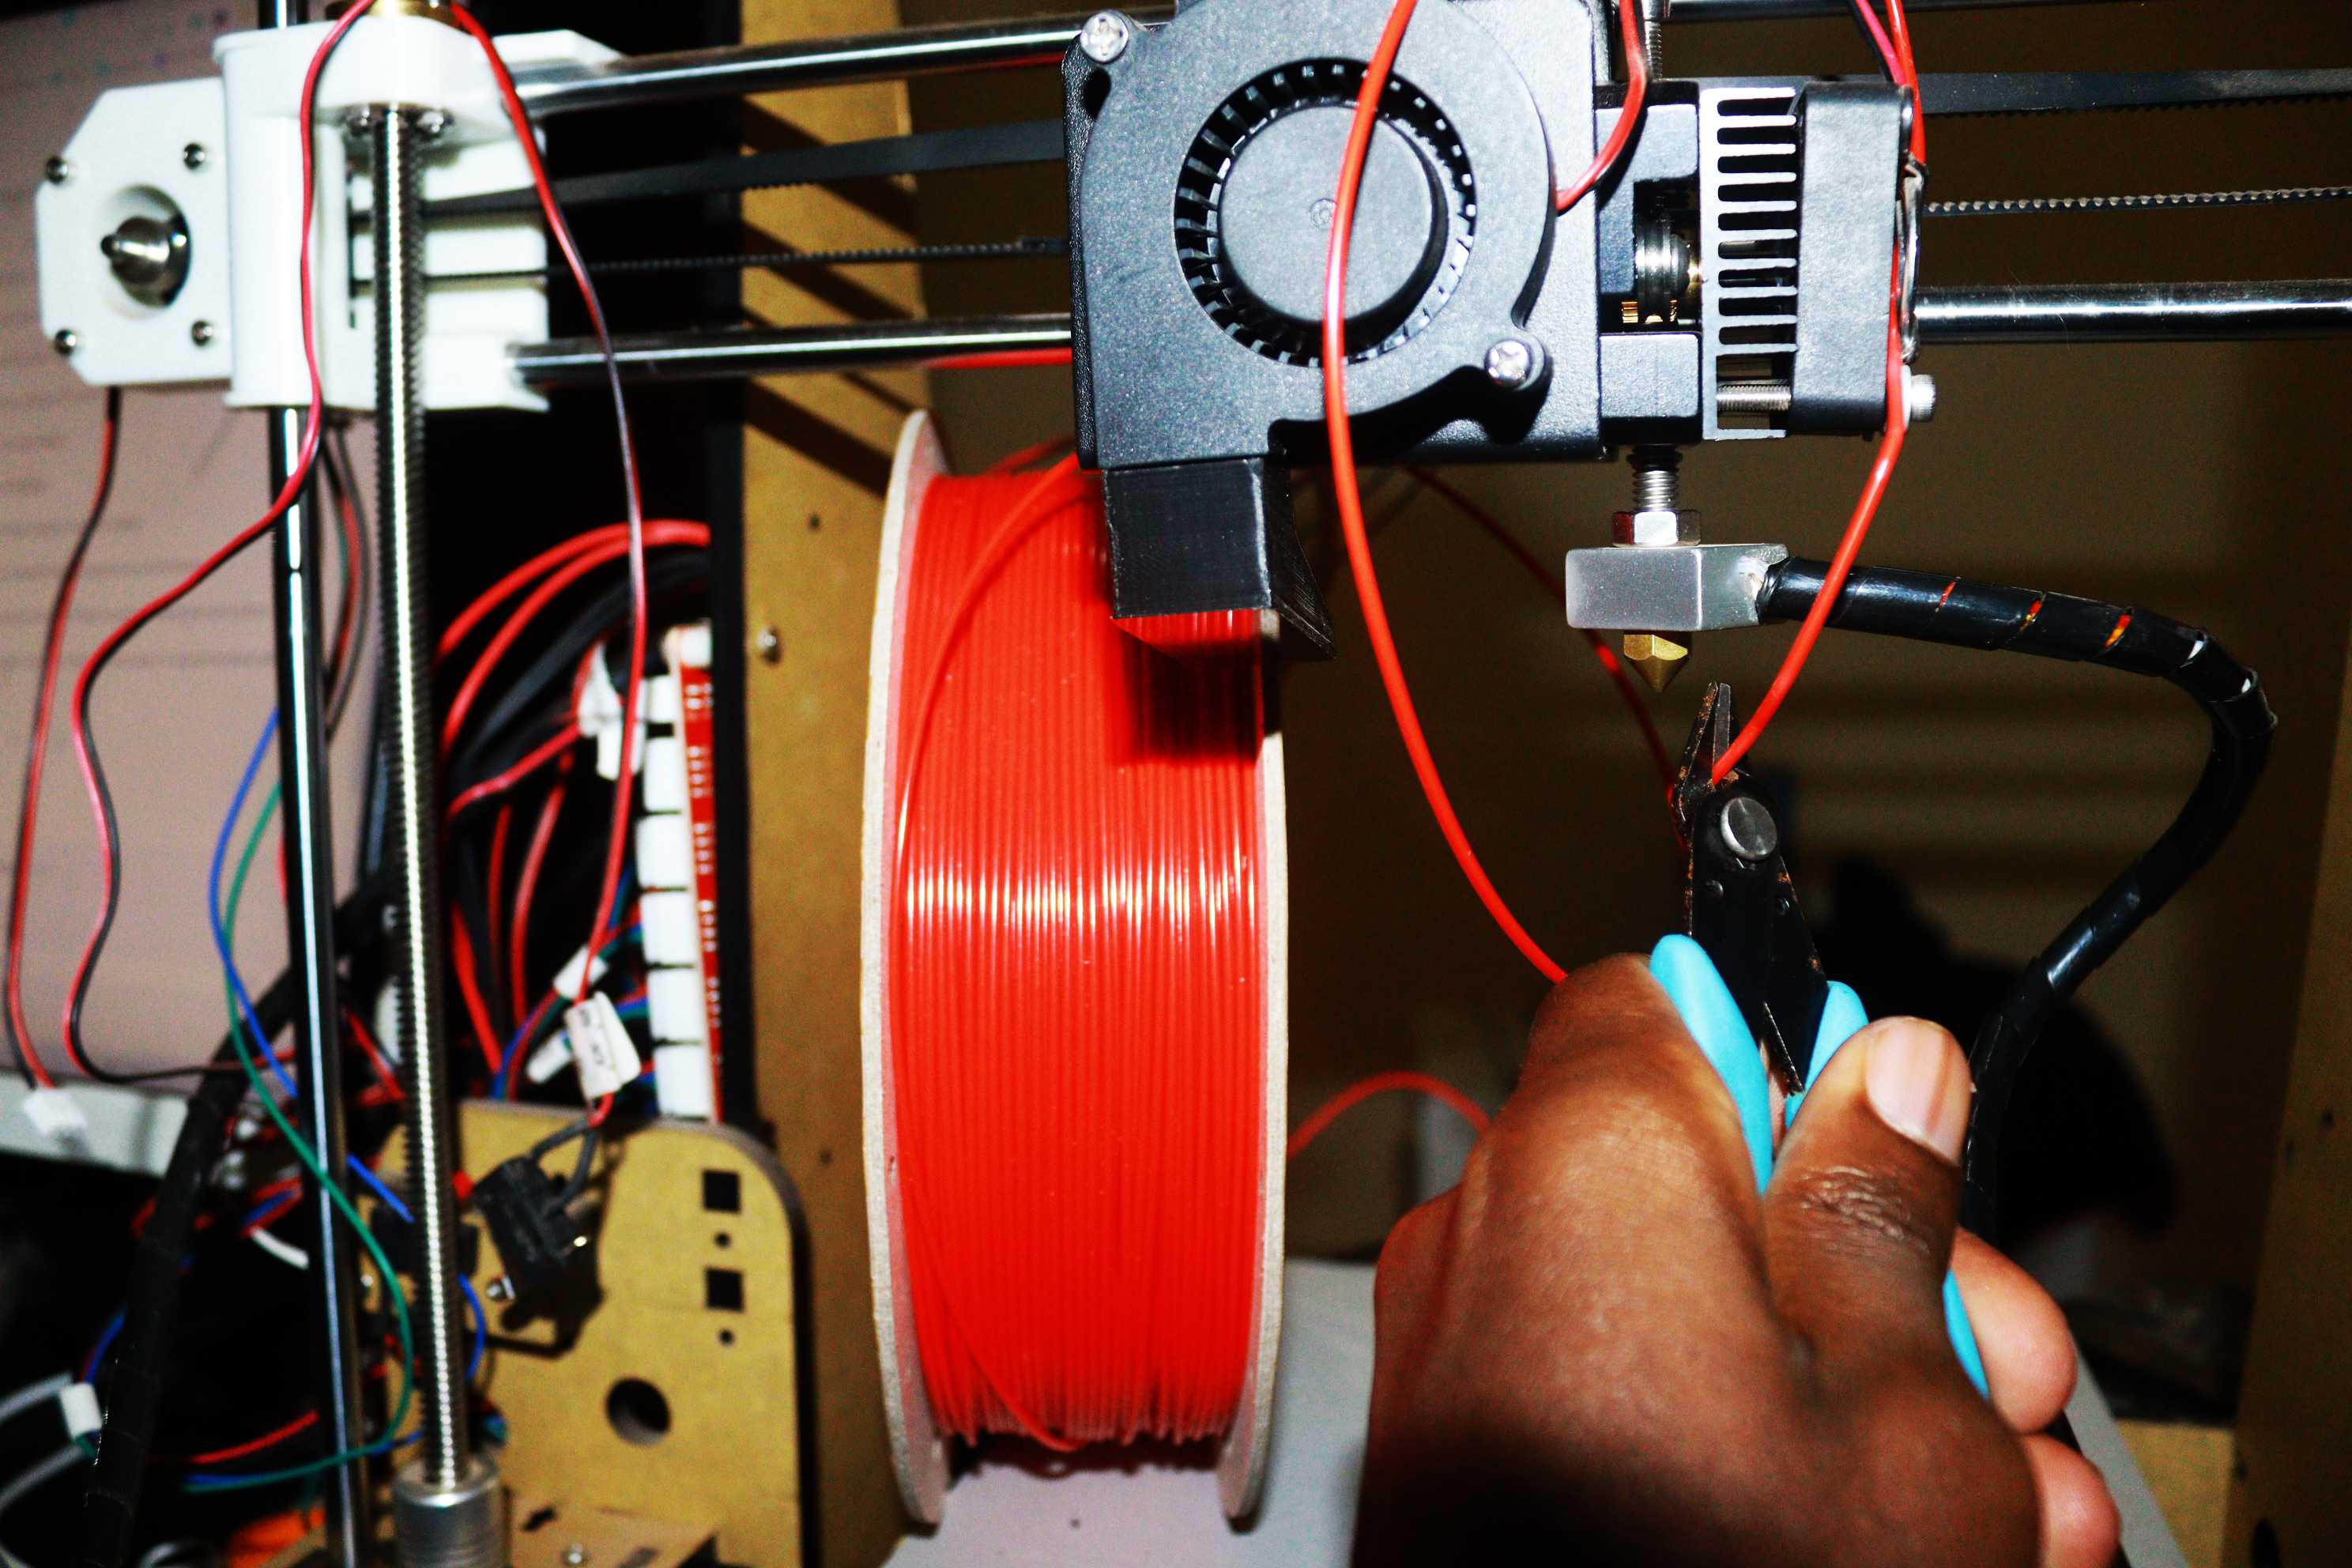


3D printing filament isn't fully opaque. Shine a light through a thin layer of PLA, and some of it will pass through, especially with lighter colors. HueForge uses this by stacking thin layers of different colored filament on top of each other, so that light traveling through the stack blends colors the way layers of watercolor paint mix on paper, except the mixing happens in physical depth rather than on a flat surface.
The official term for this technique is called filament painting. It's a very different approach from the color-swap multi-color prints you've been seeing around the internet, where distinct colors just sit next to each other.
To pull this off, HueForge relies on a value called Transmission Distance, or TD, which measures how far light can travel through a specific filament before it fades to nothing. A high-TD white filament acts almost like a light diffuser, while a low-TD black provides deep shadows and outlines that can give an image contrast. Throw in two or three mid-TD colors in the mix, and you'll have a palette capable of producing tones and gradients that no single filament color could ever achieve on its own.
What makes HueForge prints so convincing to look at isn't the color blending alone; it's the physical depth you get. Because brightness maps to height, the finished piece has actual texture and relief, so it looks like a real object rather than a printed image glued to a flat surface. Under normal room lighting, portraits, landscapes, and logos take on a dimensional quality that a flat photo print simply can't replicate.
Congrats, you're now a lithophane artist
Brightness in, height map out

The actual workflow is rather simple. You provide a 2D image of anything, and HueForge first converts it into a grayscale map based on brightness. The image is then translated into a height map for a 3D model, where brighter areas get built up taller and darker regions stay thinner. This is the same underlying principle used in traditional lithophanes, those backlit carved panels that reveal an image when light is shone through them, but HueForge flips the concept so it works under regular room lighting instead of requiring a separate light source behind the print.
Once the geometry is generated, you assign filament colors to specific layers using sliders at the bottom of the interface. As you drag those sliders, HueForge recalculates in real time and shows you a live preview of what the final print will look like while accounting for the filament's TD value. If you're happy with the preview, you can export an STL model along with a text file listing the exact layer heights where you need to swap filaments.
Where your printer either helps or actively punishes you
No AMS? Hope you like babysitting your printer

Getting HueForge files into your printer is pretty much the same as any other model you'd download across the internet, but being comfortable with your slicer does make things easy here. You see, HueForge doesn't generate G-code itself, so you load the exported STL into your slicer of choice and manually have to add the filament swap points at the specified heights — this is the same technique used to create multi-color prints without an AMS.
If your printer has an AMS, CANVAS, or similar automated color-swapping system, the transition happens without you touching anything, as long as you've specified the filament swap heights. If it doesn't, however, you'll have to manually swap filaments every time the print pauses. It's more tedious, but it works on virtually any printer that can pause mid-print.
Print settings also matter here, more than your average Makerworld model. HueForge generally wants a layer height of around 0.08mm, and you can go even lower to 0.04mm for smoother color blending if your printer supports it. Adding 100 percent infill so the light transmission stays consistent throughout the piece also helps. Make sure to disable supports entirely as well.
Money well spent, unlike the filament you're about to waste
Calibrate once or ruin spools forever
HueForge itself is an $18 purchase for a standard personal lifetime license, which also nets you a $24 Polymaker filament coupon, so the software effectively pays for itself before you've printed anything. The bigger investment you'll actually make is in calibrating your filament. If you're just starting out, you can get consistent results by starting with high-contrast, simple images like portraits rather than busy, detailed scenes.
By properly calibrating the TD values for whatever filament brands you have rather than testing generic presets, you can really push your prints to the next level. Get that calibration right once, and every project after that becomes dramatically easier to predict and print correctly.